Managing your team
A guide for school & district Team Owners and Managers: how to assign course seats to your teachers, track their PDP progress, and export records for compliance.
On this page
1. Teams & roles
A Team is your district, school, or organization's account. It holds purchased seats — one seat is one teacher in one course. People on a team have one of four roles:
| Role | Who it's for | Can do |
|---|---|---|
| Owner | The account holder (e.g. PD director) | Everything a Manager can, plus add/remove other Owners. A team always keeps at least one Owner. |
| Manager | Day-to-day PD coordinators | Assign courses, invite people, change member roles, remove members, view the activity log and certificates. |
| Viewer | Principals, compliance staff | Read-only: see the roster, progress, and exports — no changes, no certificate links. |
| Member | Your teachers | Take their assigned courses on their own dashboard. Members never see the team pages. |
Roles and learning are independent: an Owner or Manager can also assign a seat to themselves and take courses like any teacher.
2. Getting access
Teams are set up by CouchCertified when your purchase order is finalized — you'll receive a sign-in link by email. CouchCertified uses password-less sign-in: enter your email on the sign-in page and click the magic link we send you.
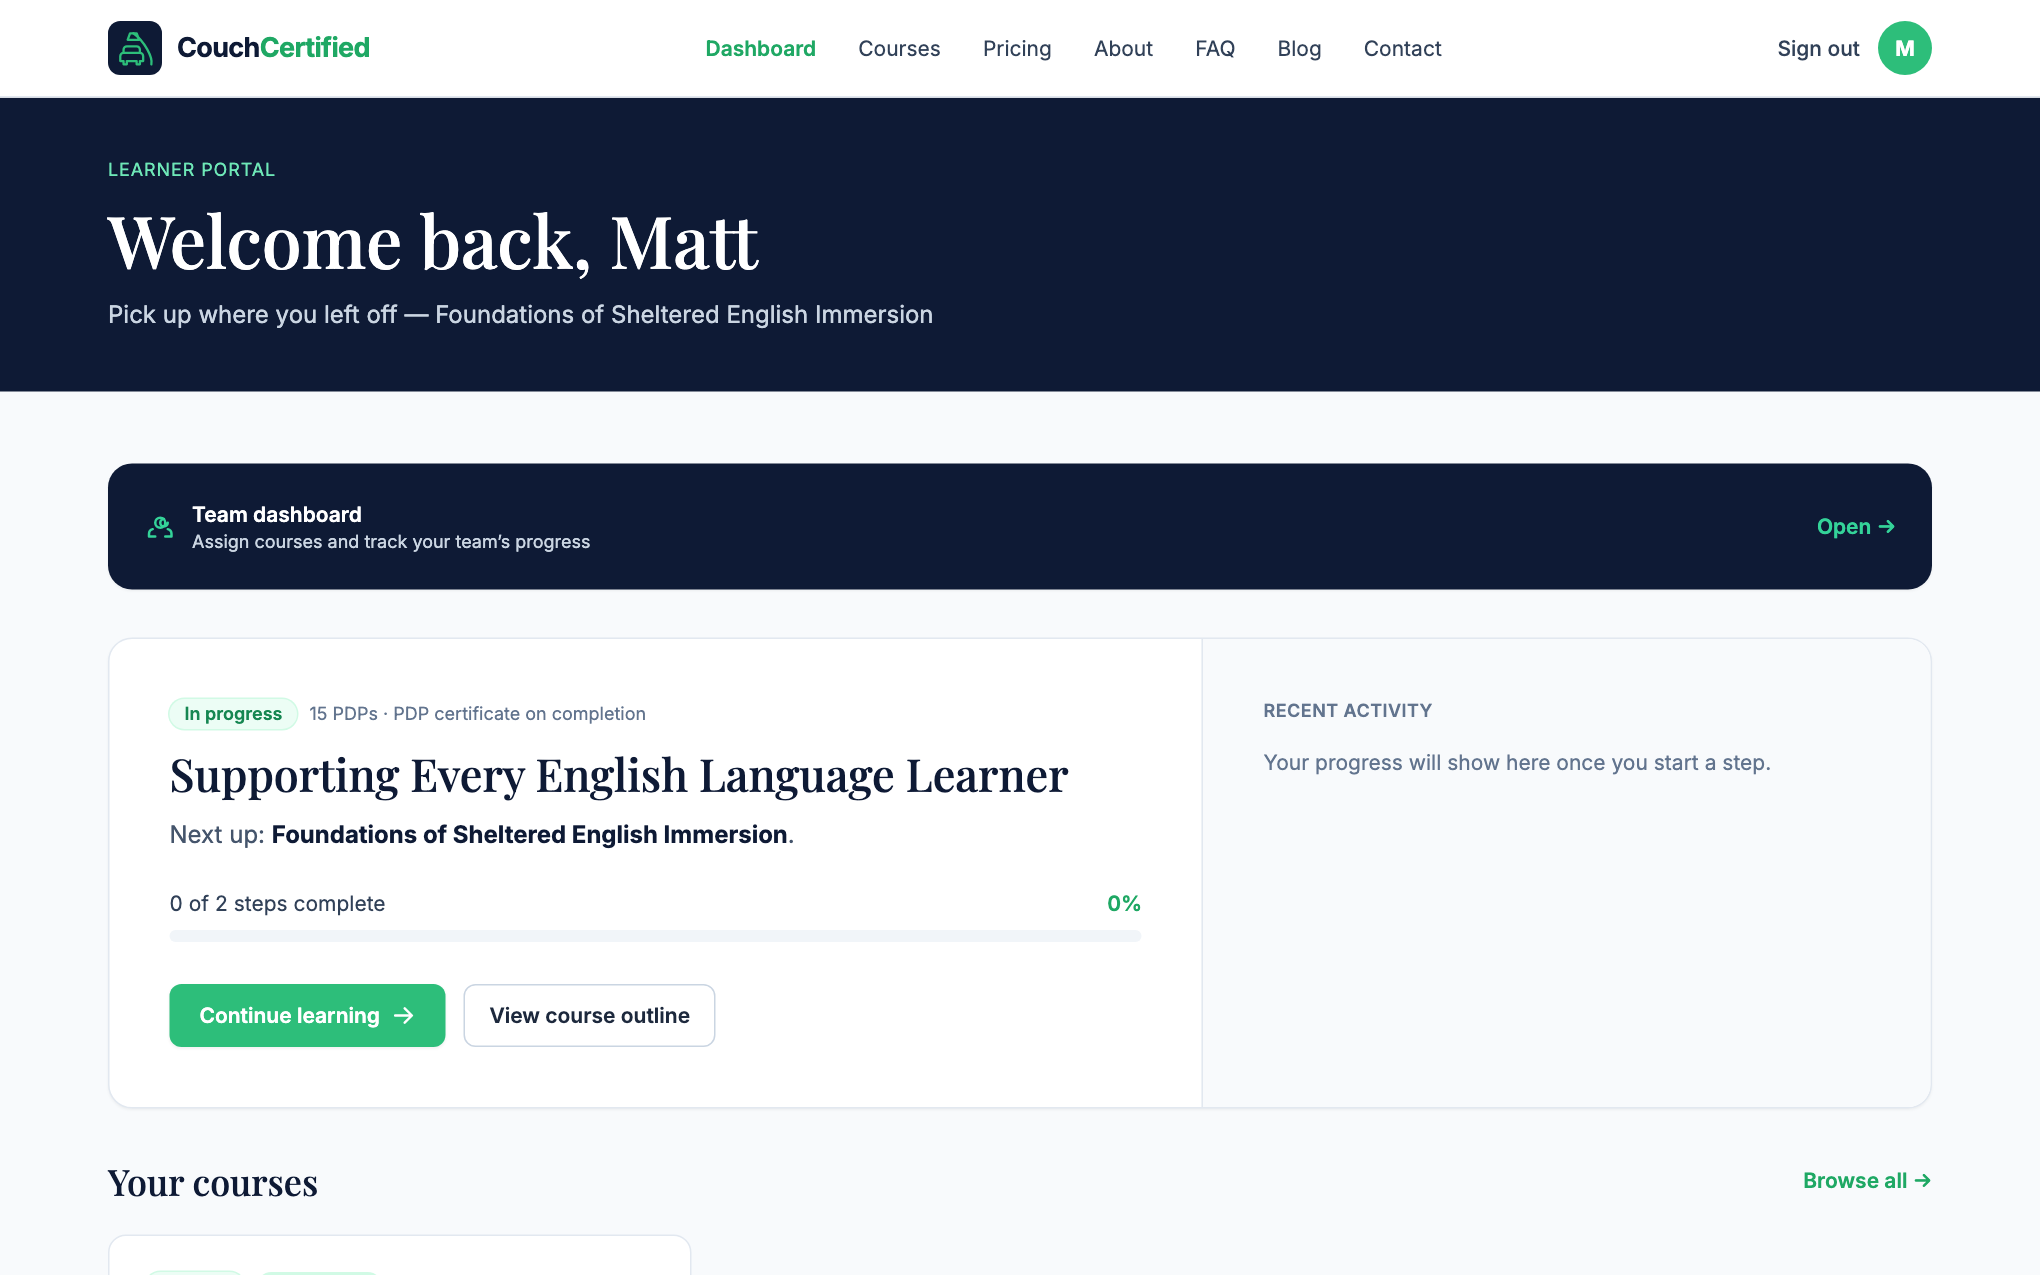
Once you're signed in, your dashboard shows a Team entry in the header (or lands you on the team pages directly if you're not enrolled in any courses yourself). If you belong to several teams, a switcher in the team header lets you change context — it shows how many teams you manage, and every tab names the team you are currently looking at, so you always know whose seats and members are on screen.
Buying more seats for a team you already have adds to it rather than starting a new one — you choose the team when you price the seats. After a purchase we open the team the seats went into and confirm it at the top of the page.
There are two ways to pay, and they cost the same — the volume rate depends on how many seats you buy, never on how you pay. Get a formal quote if you need a purchase order: we email a quote with the prices locked in, you take it to procurement, then come back and enter your PO number and we invoice you. Pay now by card skips all of that, and your seats are ready as soon as the payment clears.
Lost an invoice? Any unpaid invoice shows a View or pay invoice link on the districts page, and Email it again re-sends it to the billing contact recorded on that order.
The round profile button in the top-right corner opens your profile, where you can update your name and details, change your sign-in email (we confirm the new address first), and — if you're an Owner — rename your team. Renames show everywhere immediately, including the activity log.
/team.3. Overview — your seats
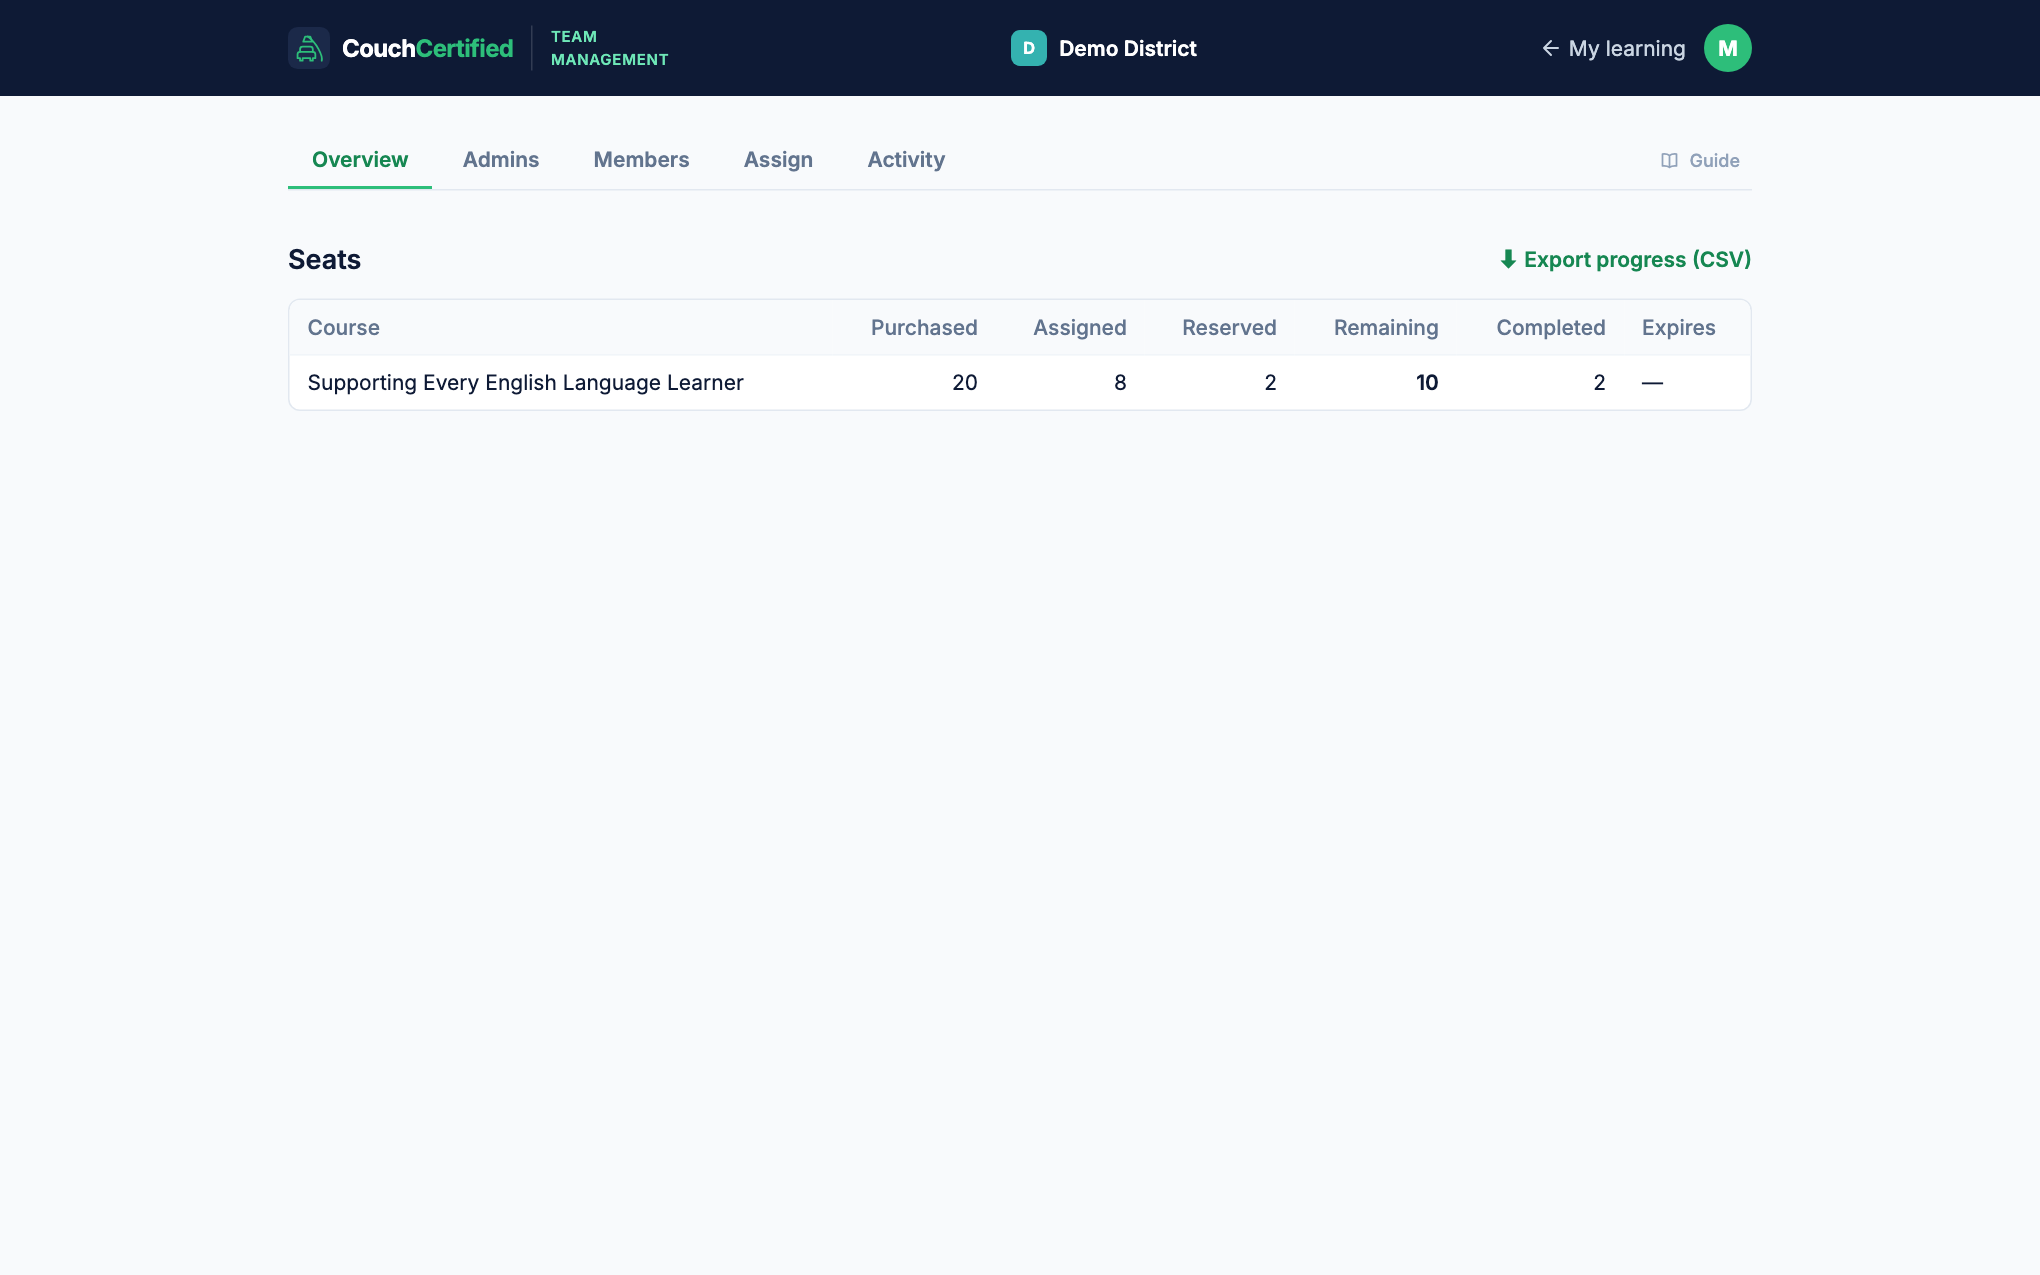
The Overview tab shows one row per course you've purchased seats for:
- Purchased — total seats bought for that course.
- Assigned — teachers actively enrolled (or finished).
- Reserved — pending invitations holding a seat until they're accepted or expire.
- Remaining — what you can still hand out (purchased − assigned − reserved).
- Completed — teachers who finished and earned their certificate.
4. Admins — your leadership team
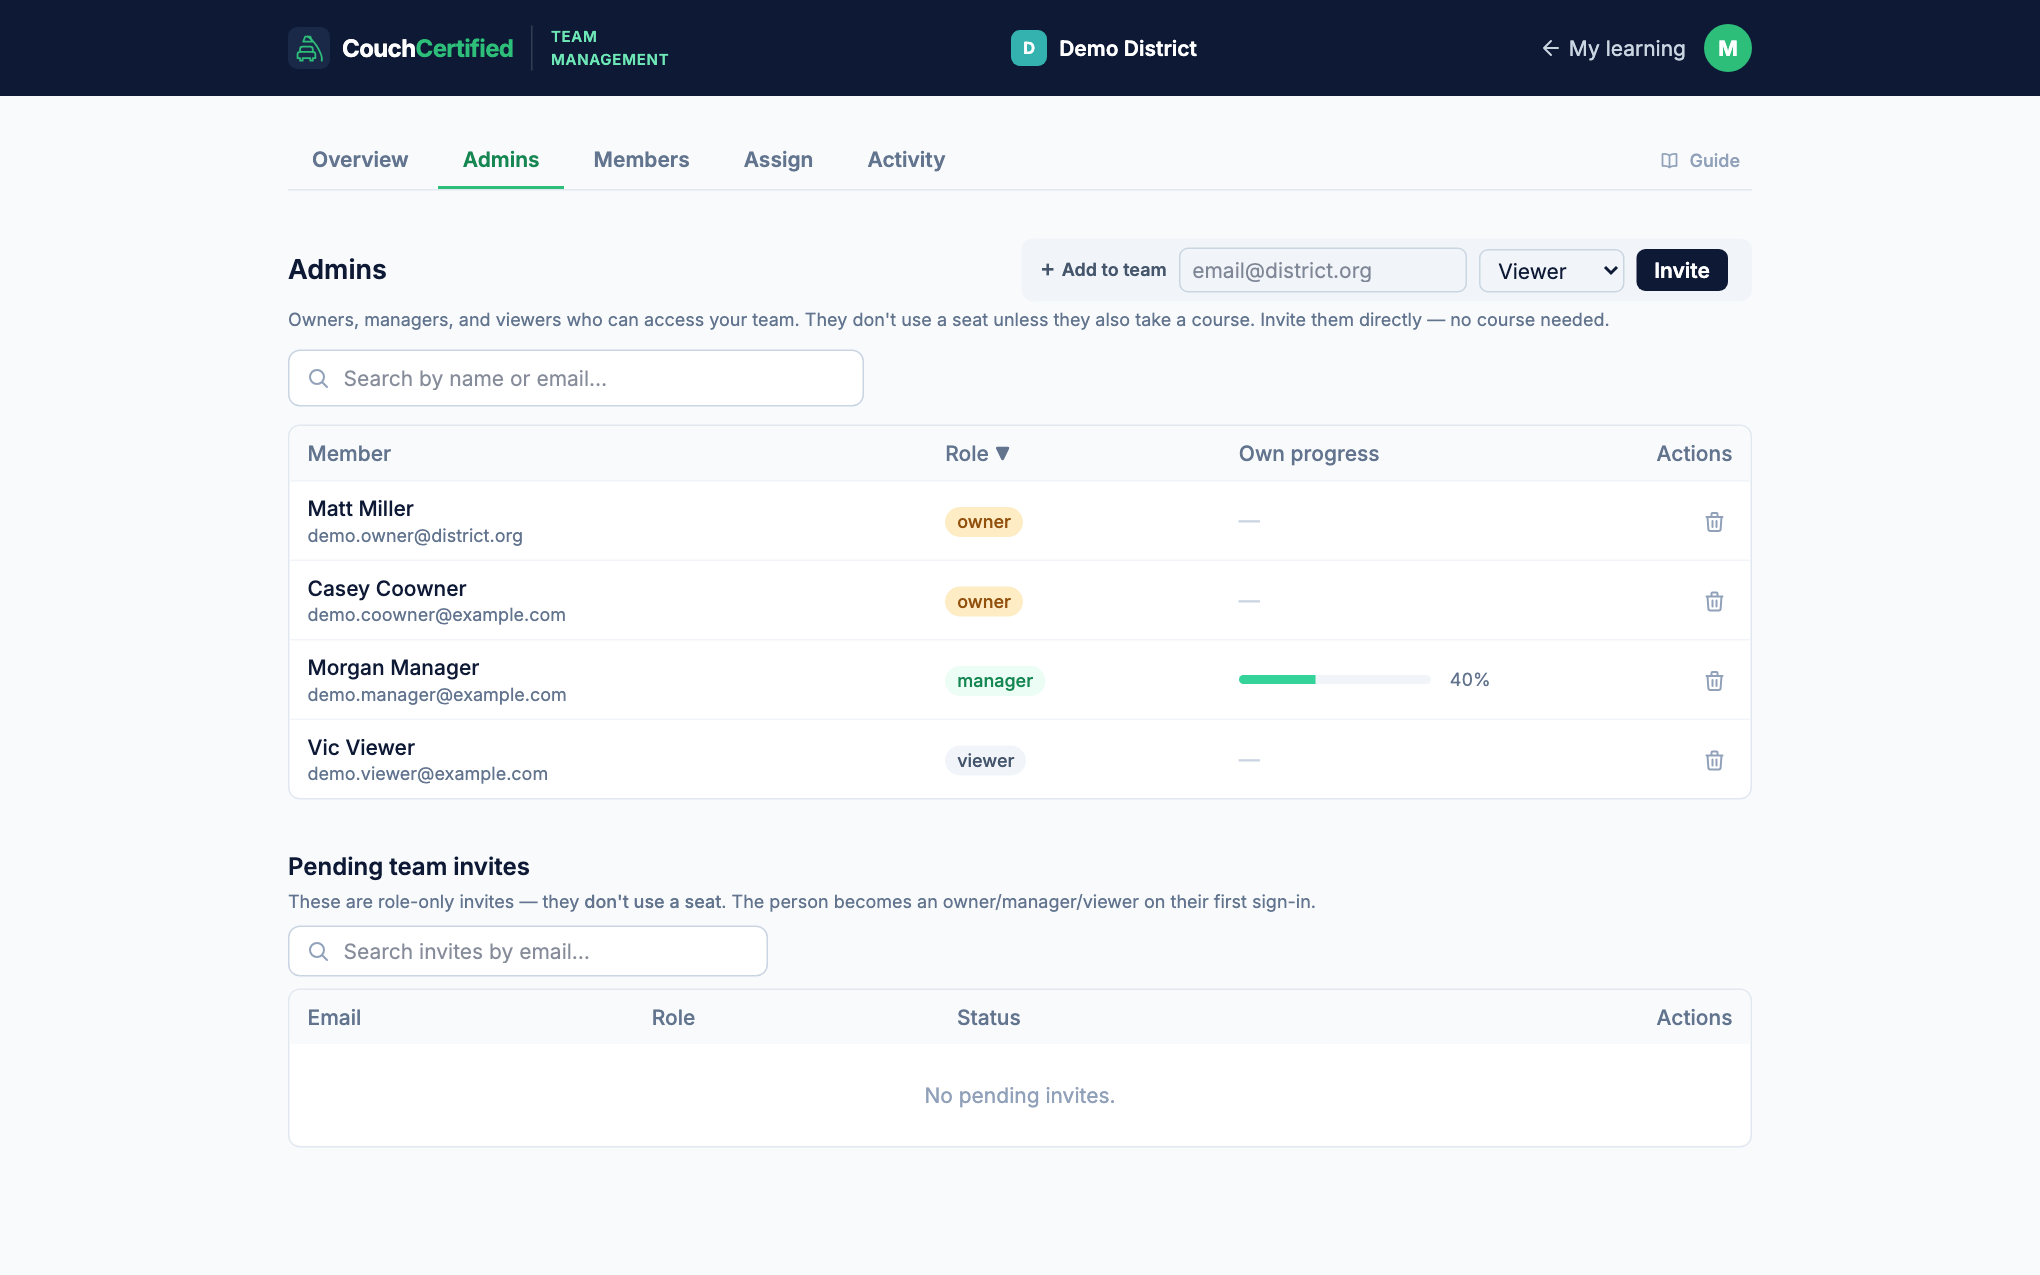
The Admins tab lists your Owners, Managers, and Viewers. Use Add to team to invite a colleague into a leadership role without using a seat — they get a sign-in link by email and join with that role on their first login. Only an Owner can grant the Owner role.
5. Members — your teachers
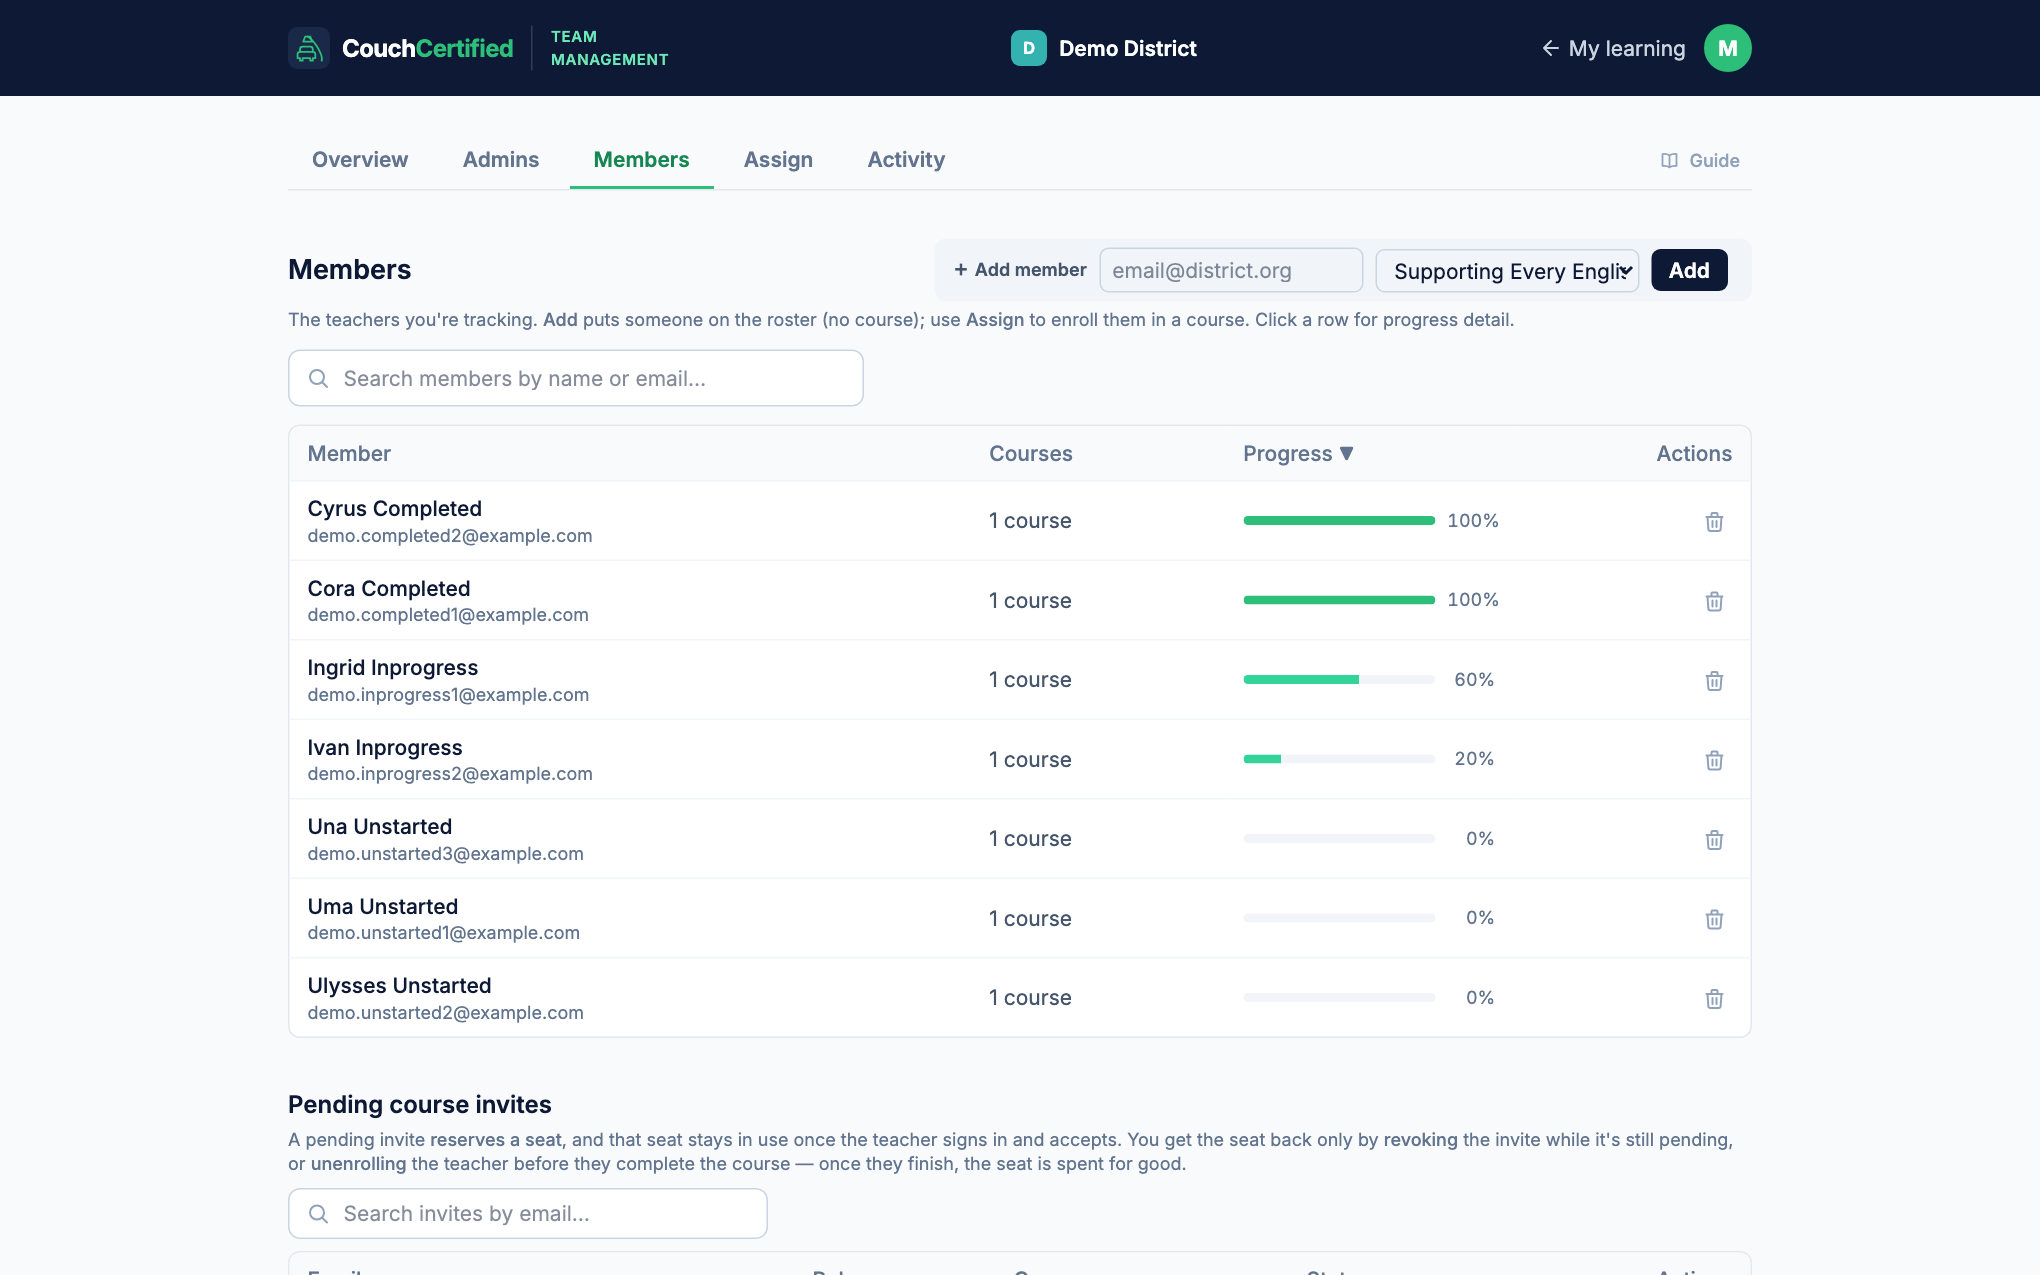
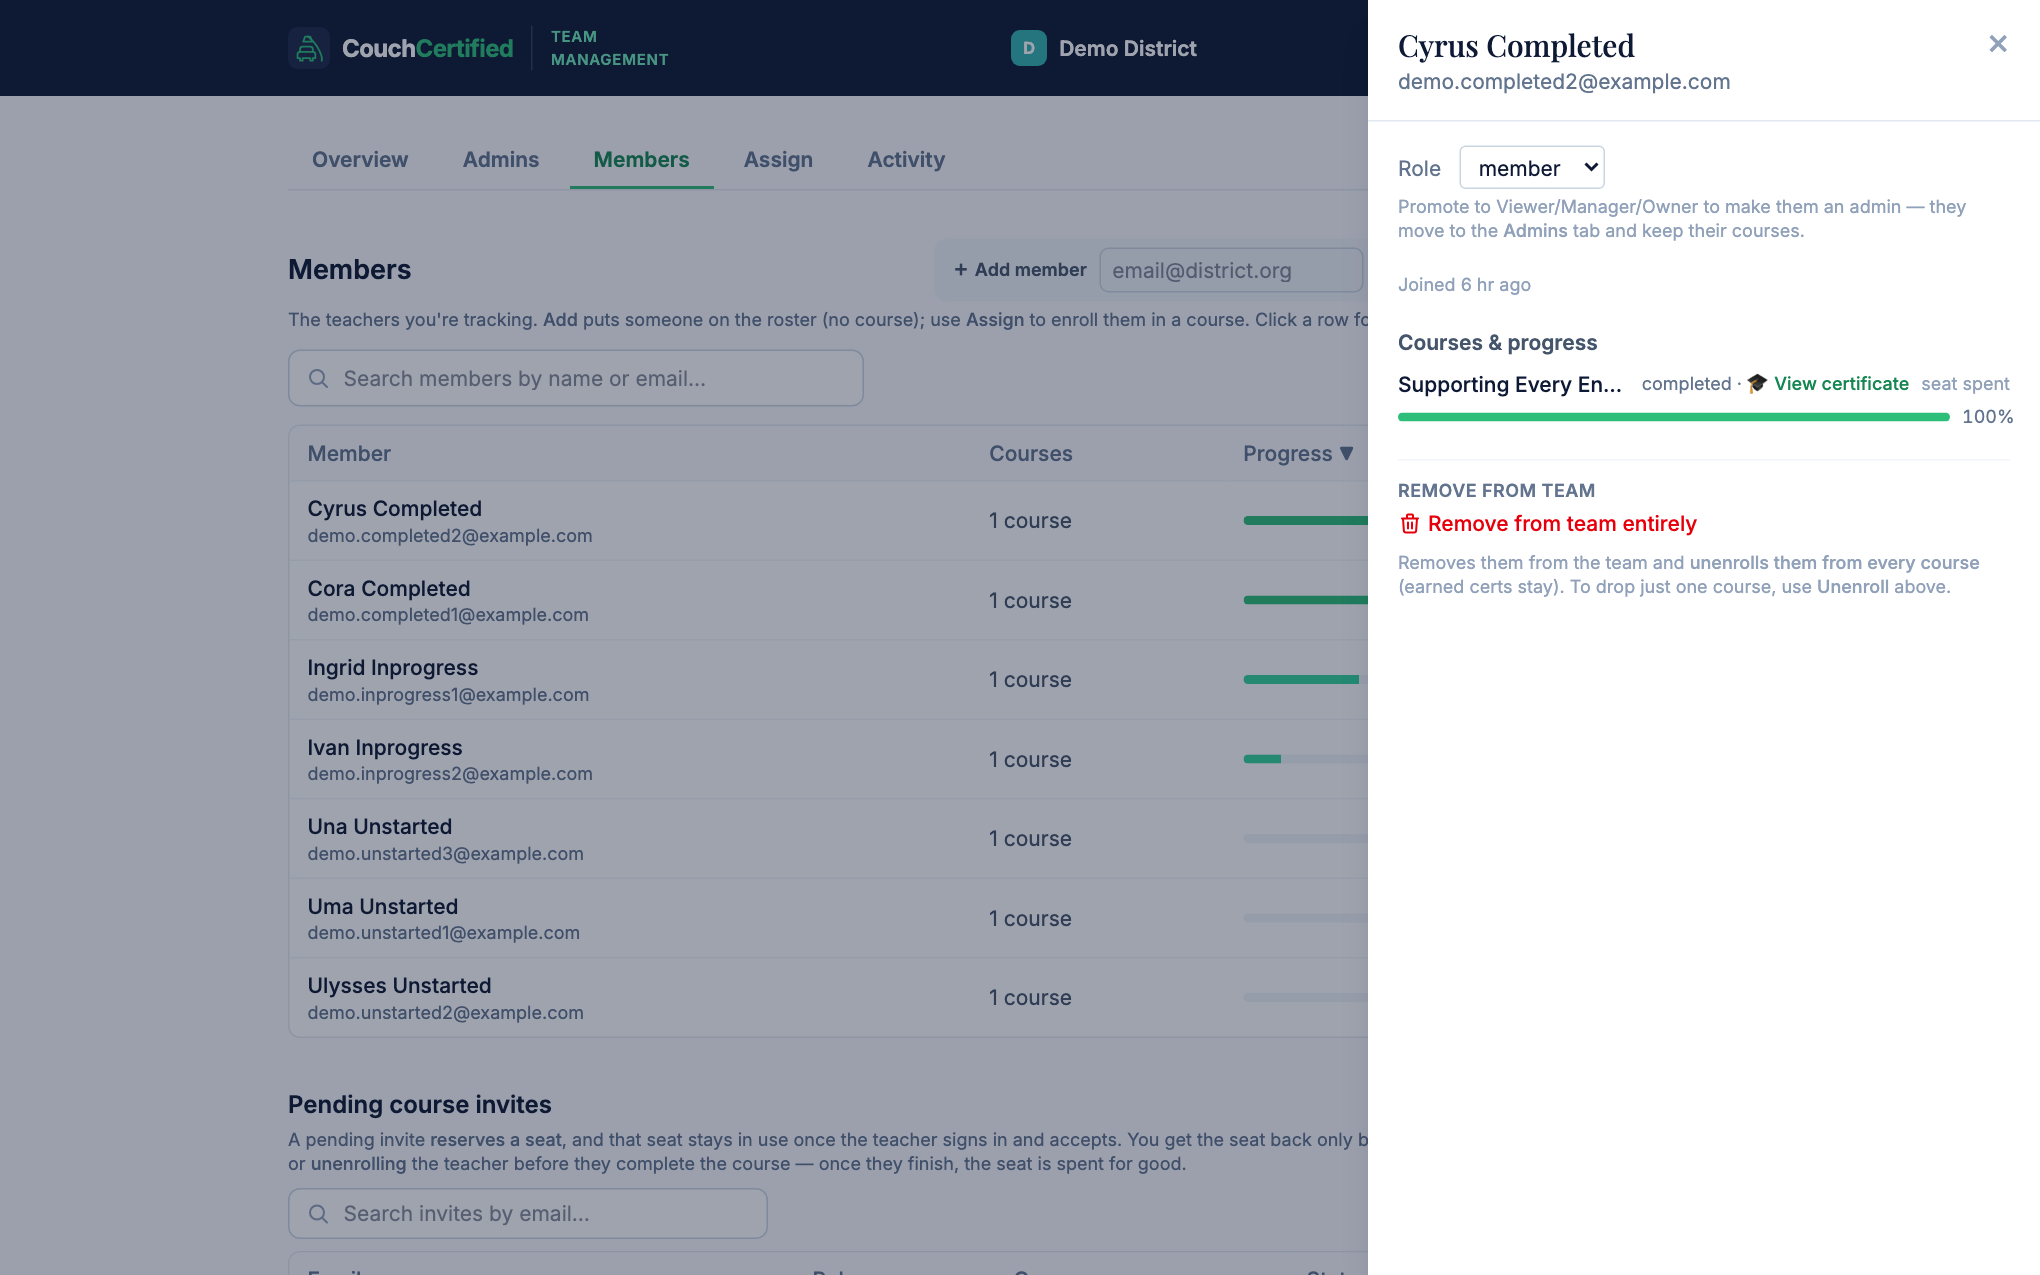
The Members tab is your roster. Each row shows the teacher, how many team courses they hold, and a live content-progress bar. You can sort by any column, search by name or email (3+ characters), and page through large rosters 25 at a time.
Add member is the quick, single-person path: enter an email, pick the course, and click Add. If they're already on the team they're enrolled immediately; if they're new, they get an email invitation that reserves a seat.
6. Member detail & certificates
Click any roster row to open the member panel. From here you can:
- Add a course — give this teacher another seat from your pools.
- Unenroll one course — withdraws that enrollment and returns its seat. A completed course can't be unenrolled: that seat is spent and the certificate is earned for good.
- View certificate — Owners and Managers can open a completed teacher's certificate (the 🎓 badge becomes a link). Viewers see the badge only.
- Change role — promote a teacher to Viewer/Manager (or demote back). Changing a role keeps their courses.
- Remove from team — withdraws their unfinished team courses (freeing those seats) and takes them off the roster. Earned certificates are never revoked, and if you re-add someone later their progress is restored, not reset.
7. Assigning courses in bulk
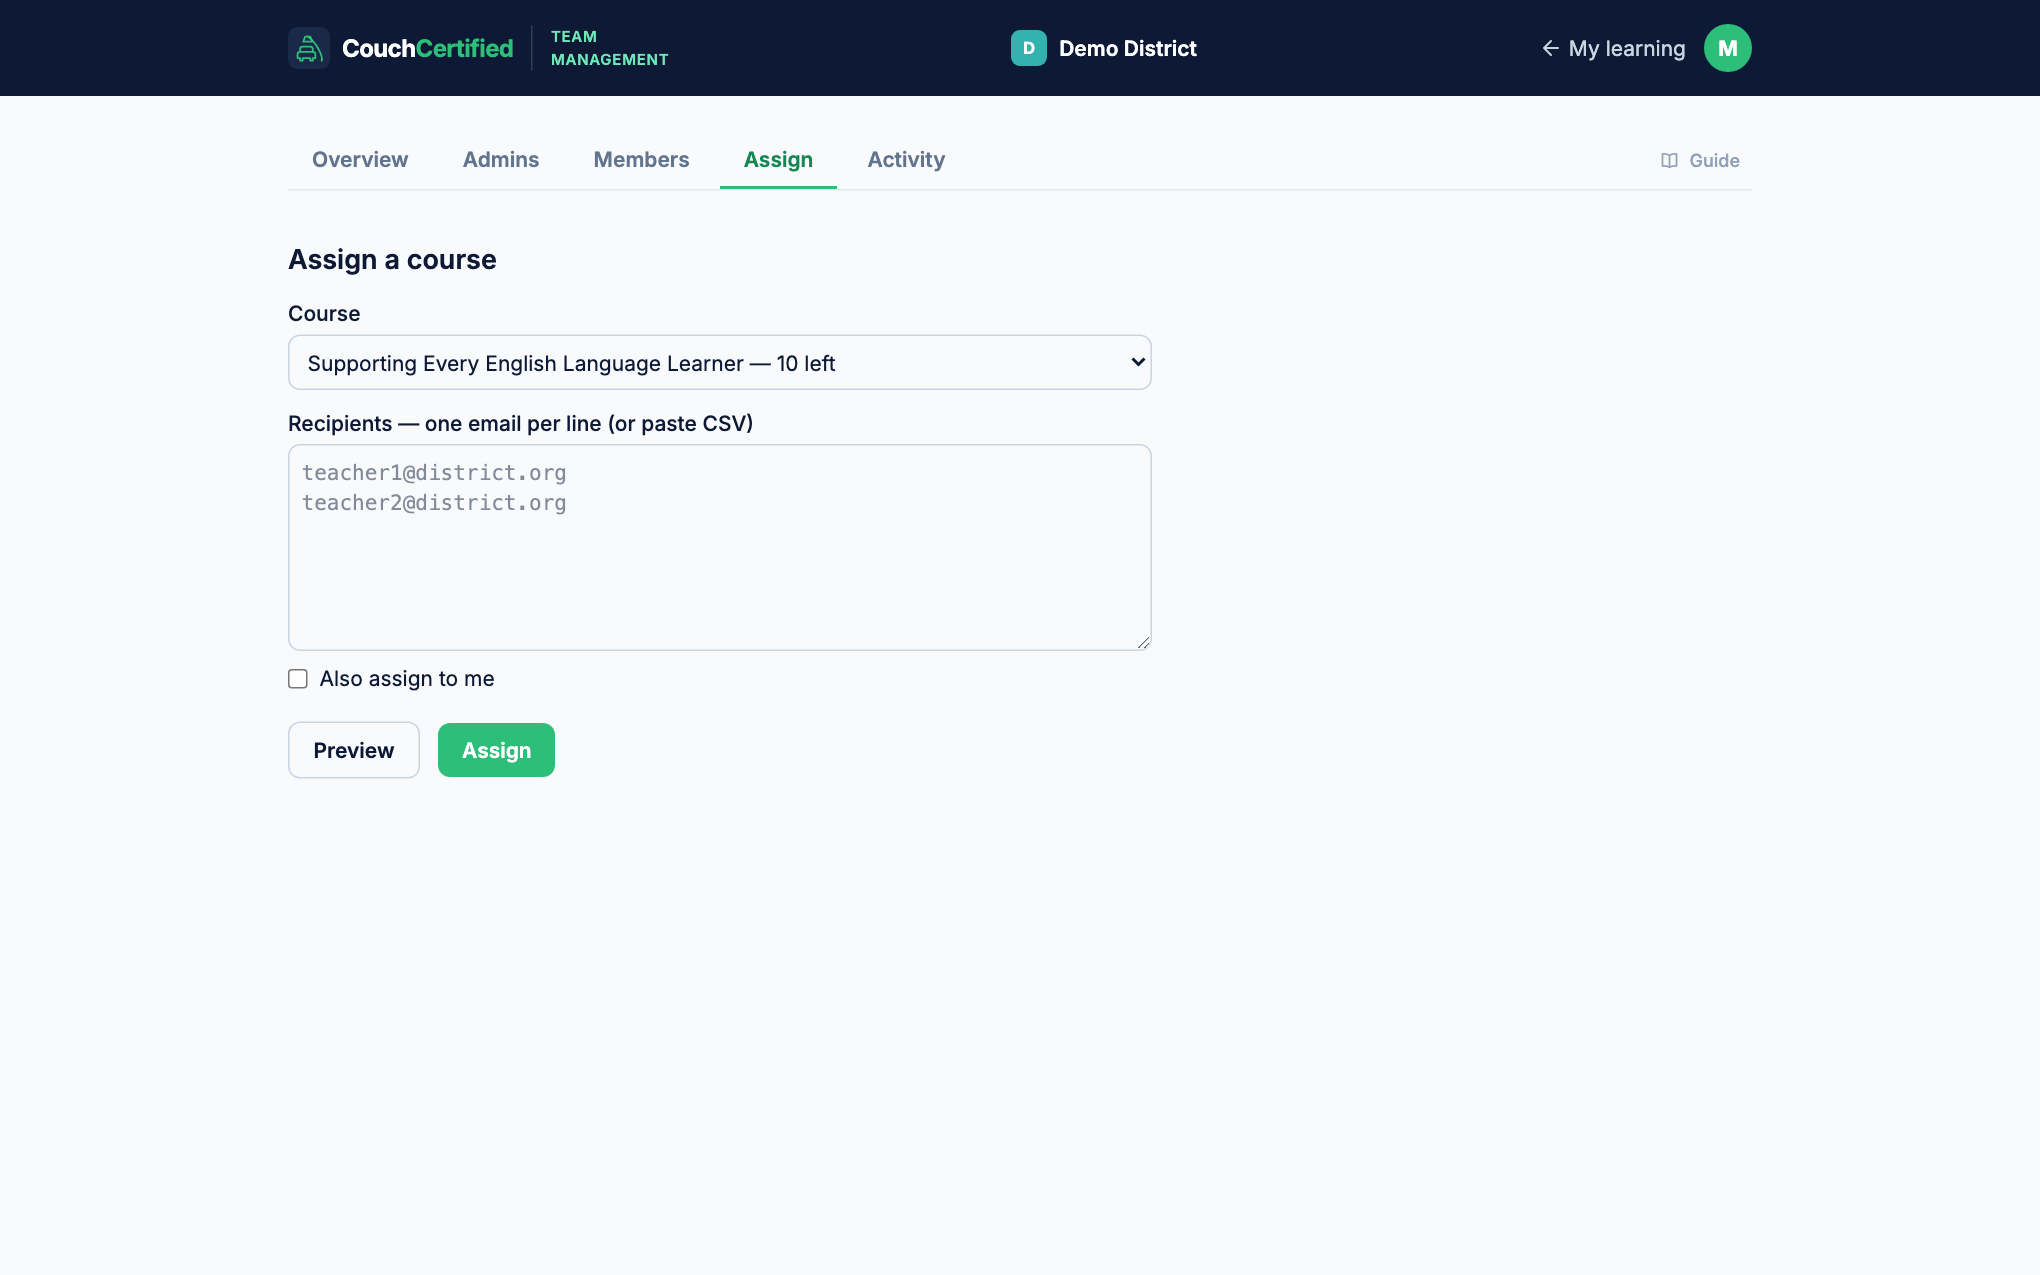
The Assign tab is for handing out many seats at once (up to 40 recipients per batch). Pick a course, then either paste email addresses or upload a CSV.
Always preview first. The preview is a dry run: it classifies every recipient — enroll (already on the team), invite (new, will reserve a seat), or skip (already assigned, invalid address, duplicate row, or no seats left) — without changing anything, and offers a downloadable report. Seat exhaustion is simulated in order, so you can see exactly who would miss out before you commit.
8. How invitations & seats work
- A course invitation reserves a seat the moment it's sent. The teacher claims it automatically the first time they sign in with that email.
- Invitations expire after 30 days. A lapsed invite returns its seat to the pool; the teacher can no longer claim it (no surprise over-allocation months later).
- Resend re-arms a pending or lapsed invite for a fresh 30 days. Reviving a lapsed invite re-reserves a seat, so it's refused if the pool is empty.
- Revoke cancels a pending invite and frees its seat immediately.
- A seat is spent only when the teacher completes the course. Before that, unenrolling (or removal, or invite expiry) returns it to the pool.
9. Activity log
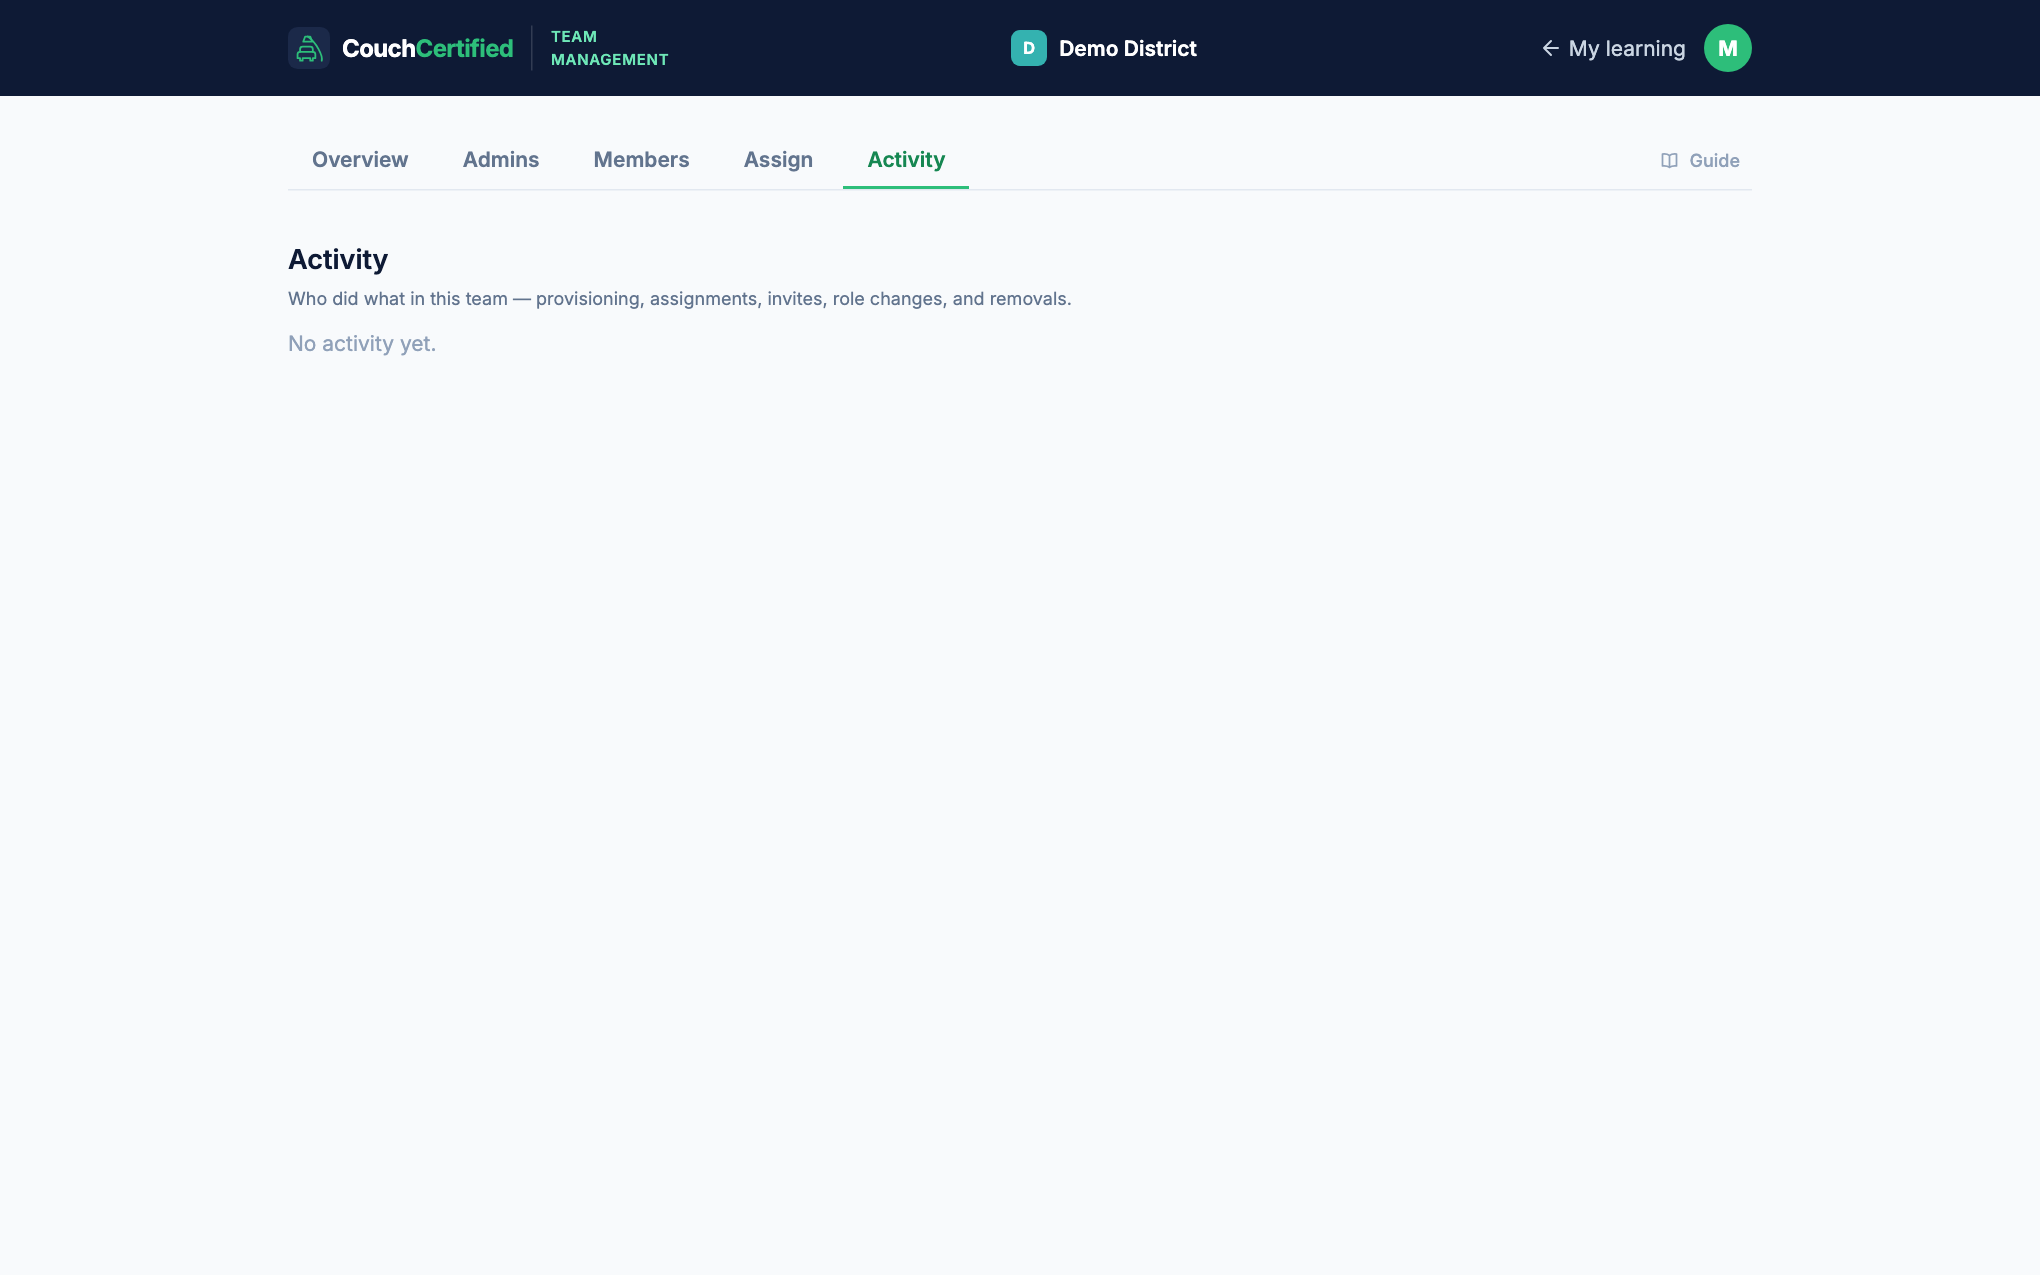
The Activity tab (Owners and Managers only) is the team's audit trail: who assigned, invited, promoted, removed, or re-enrolled whom, and when. Use it to answer "why does this teacher have a seat?" months later.
10. Exporting progress (CSV)
Export progress (CSV) on the Overview tab downloads one row per teacher per assigned course: name, email, course, status, the state the teacher enrolled for, what that state's certificate is worth (hours, and PDPs where the state awards them), and the certificate's verification code with issue/expiry dates. Certificate codes can be verified by anyone (e.g. your HR office) at learn.couchcertified.com/verify/<code> — no account needed.
Credit only counts once a course is completed; in-progress courses export with zeros by design, so the sheet is safe to hand to your license-renewal workflow as-is. States name their credit differently — Massachusetts awards PDPs, Colorado counts hours of professional development — so the pdps_earned column is zero for a teacher who enrolled for a state that awards no points, and hours_earned is filled in for everyone.
Need a hand?
Email support@couchcertified.com — or, for buying more seats, sales@couchcertified.com.